Here's a great idea! Let's see how to make boxes easily for our projects in a homemade way, with cheap and readily available materials. I bring you the cellular polypropylene boxes.
In this case you are going to see an example with the Gadget CO2 meter but you can use the same idea for many other projects, of course.
Not everyone has a 3D printer (although it sometimes seems like it) and this is an easy way to create custom boxes with a more than good result:
Both the idea of making boxes out of cellular polypropylene and the as well as the pictures, templates, etc. are from user Sergio C. Thank you very much for your contribution, Sergio! And for all you do to help spread the word about the importance of ventilation and CO2 measurement.
It is quite possible that many of you know Sergio from Twitter (@SergioCoscolin) thanks to its fantastic infographics:
The materials
The material used to make these boxes is polypropylene (or PP). A material widely used in handicrafts and which you can easily buy at "a Chinese".
Polypropylene sheets, or plates, in this format are often referred to as "Alveolar Polypropylene".
This material is quite strong and has a high stiffness, due to its structure, but very low weight.
Attention: This NOT EN polycarbonate (PC), which is usually more expensive, stiffer and, most of the time, transparent.
It is not Polyvinyl Chloride (PVC) either, although there are some very similar sheets of this material that you can use. The only precaution, if you use PVC, is that when it burns it emits chlorine, which is very bad for your lungs and eyes and very corrosive, so be careful with the soldering iron!
To fasten the plate and close the box you can use adhesive tapeas in this example, or hot glue (even better).
The design or template
Ideally, you should have a design to start from before you start cutting and folding.
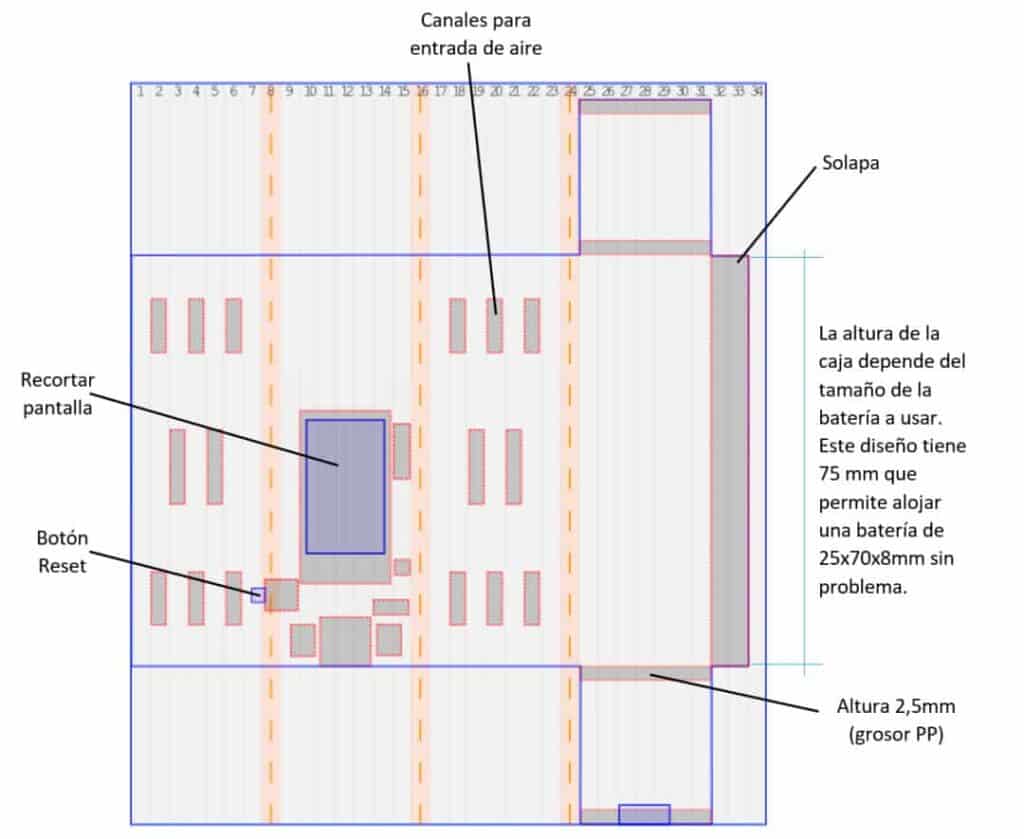
In this case, thanks to Sergio, we have a design that we can follow to the letter (or be inspired by).
Sergio has even prepared a full-size template to make it even easier for you: Download here the template in SVG formatand print it without resizing.
Steps to follow
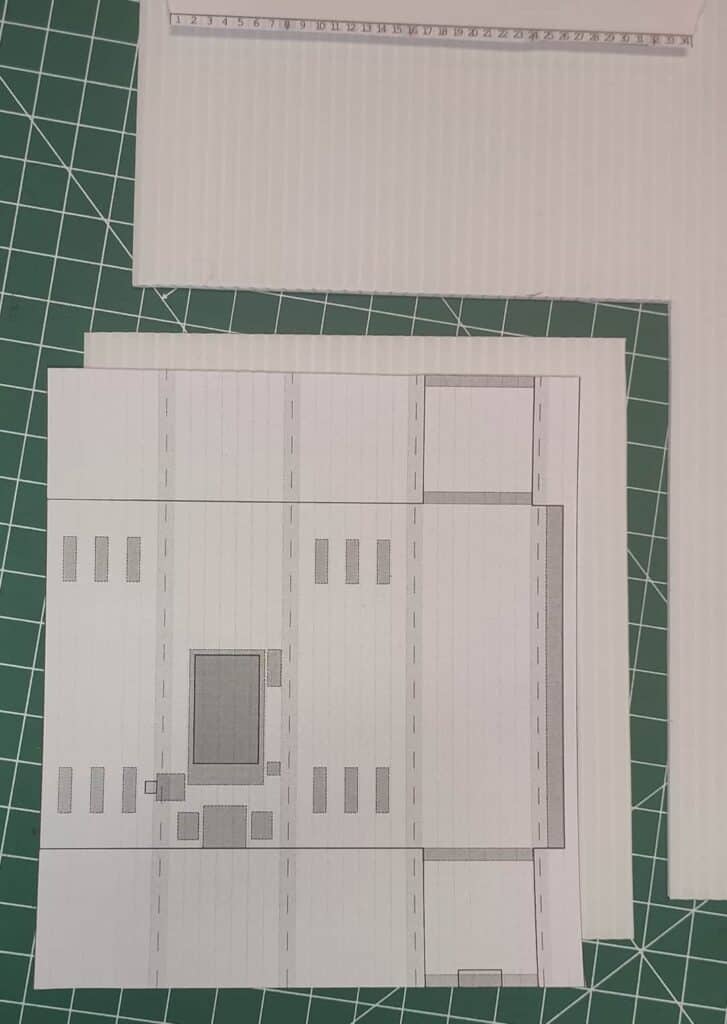
- Cut a square 115mm wide (34 channels) and 135mm high (75mm + caps).
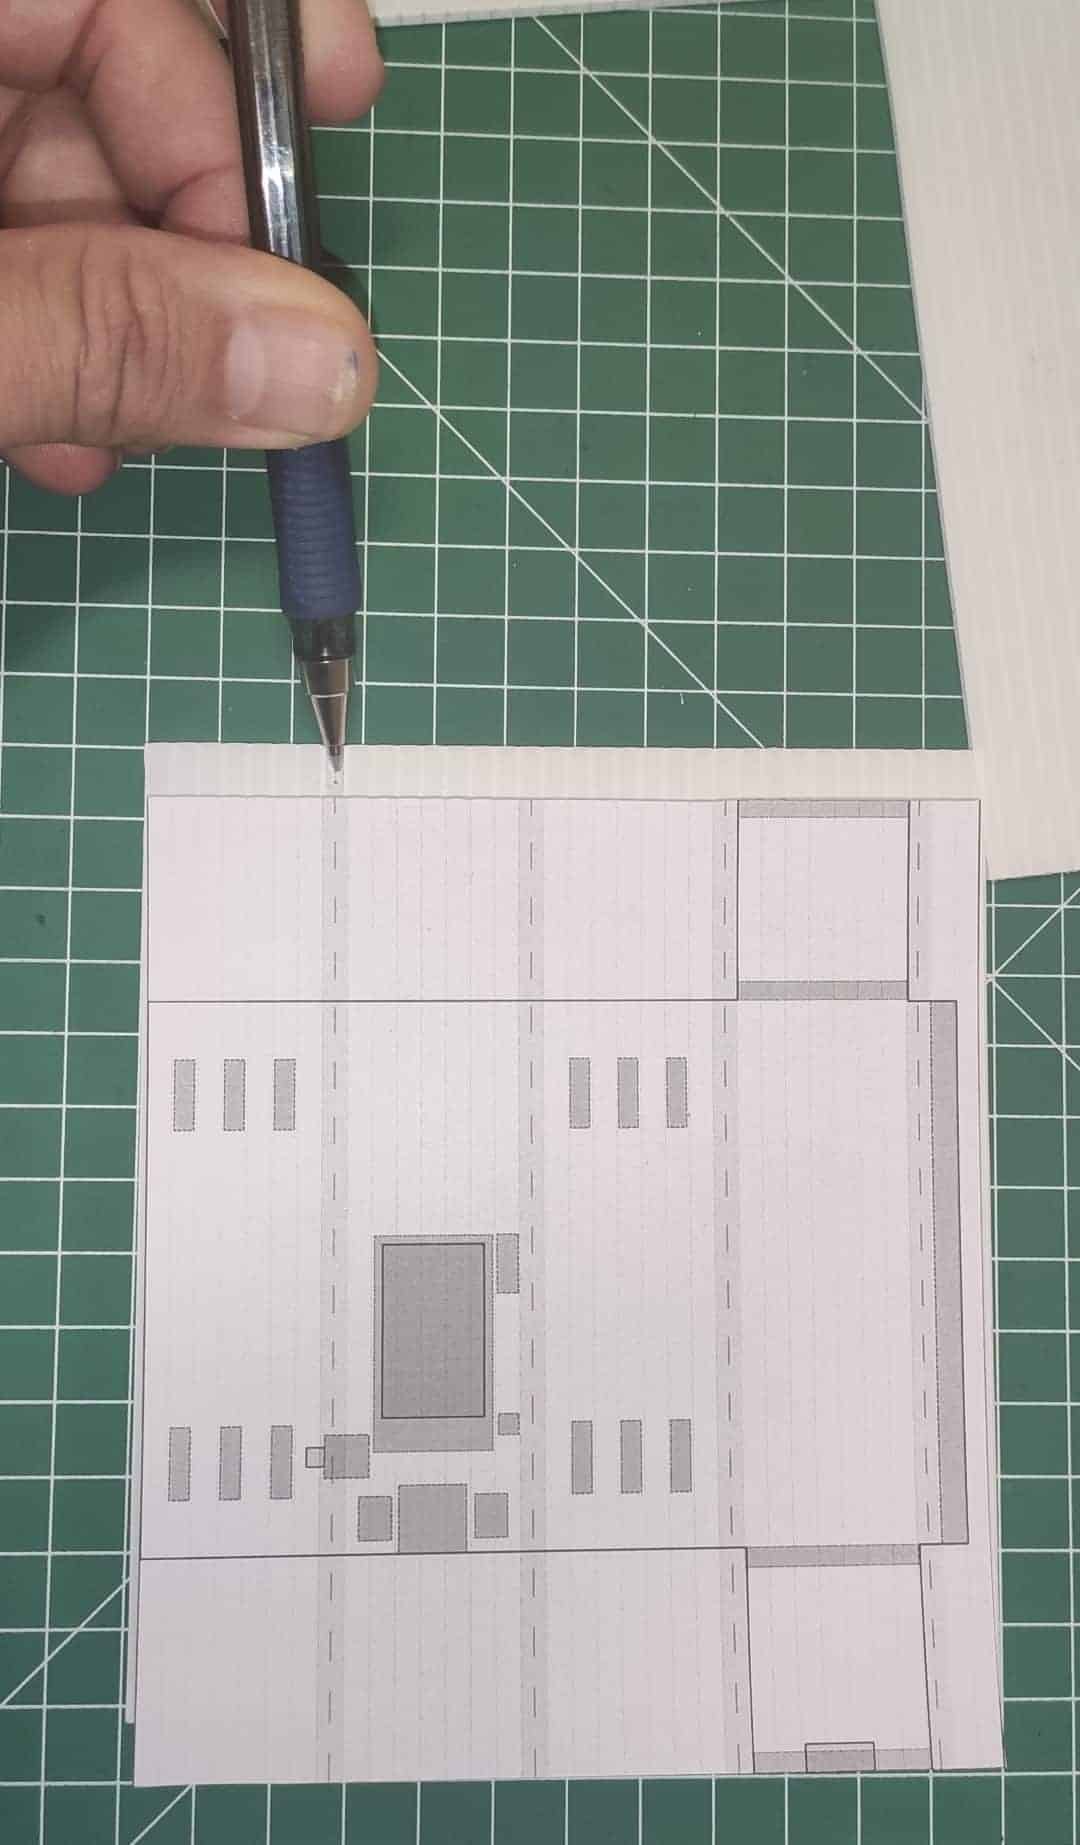
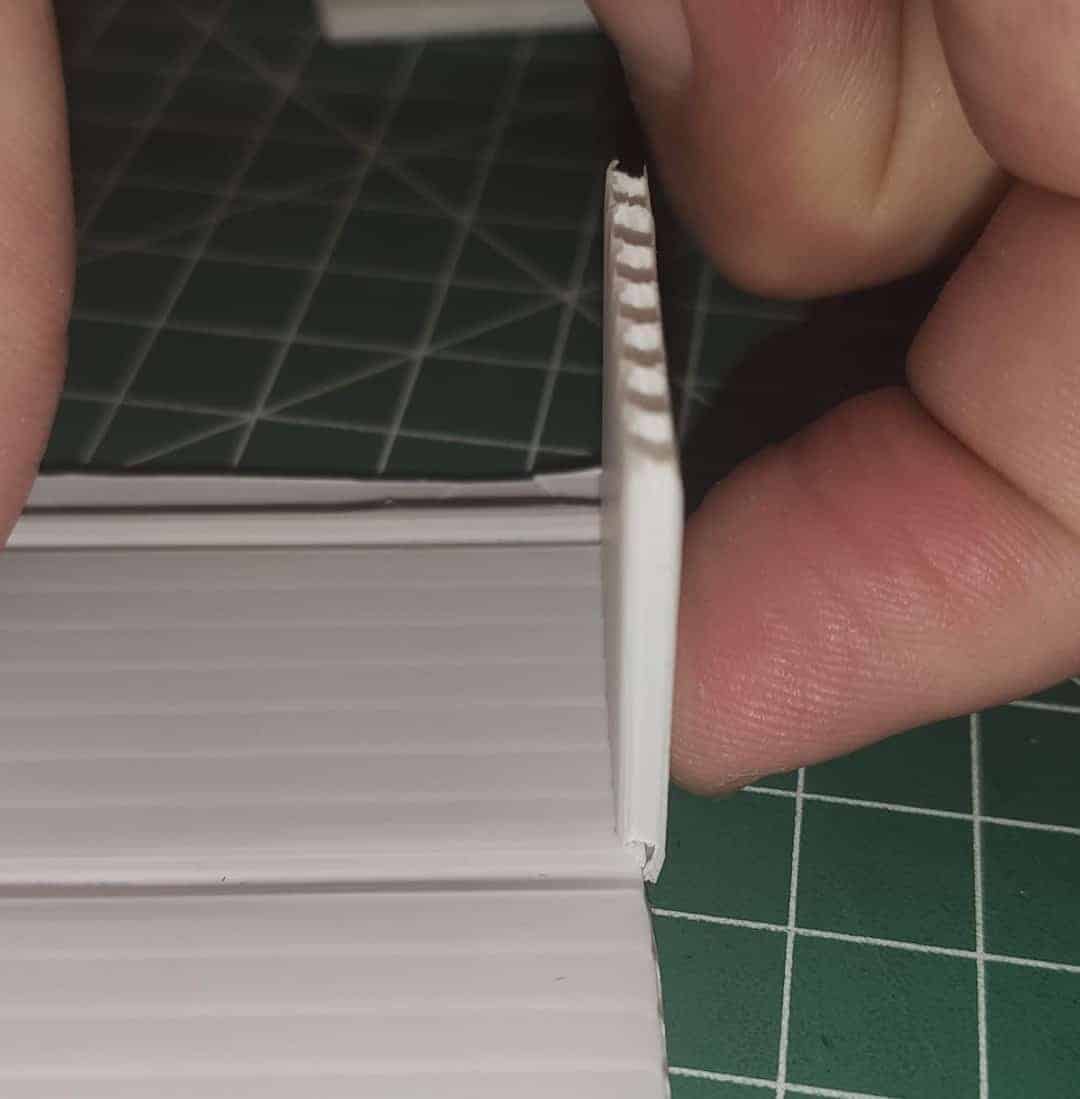
- With a biro, sink channels 8, 16 and 24, and bend at 90°.
- Cut out the shape of the box enclosed by the blue lines, and cut out the hole for the display, reset button and USB input.
- Cut only the top layer of plastic in the grey areas with dotted red lines. Whenever possible, cut inside the channel ribs, so that the box does not lose strength.
Note: The design is adapted to a honeycomb polypropylene of approximately 2.5mm thickness and a channel size of 3.4mm width. For other thicknesses the dimensions will have to be adapted.


Photo gallery
I leave you a complete photo gallery of the assembly, so that you can see it step by step in detail (click on the images to see them bigger):


