Contents
- 1 What the project consists of
- 2 The BME280 sensor
- 3 Connecting the BME280 to the NodeMCU
- 4 Connection of the BME280 to the Wemos D1 Mini
- 5 Connection to OLED display SSD1306
- 6 Connecting the BME280 to other microcontrollers
- 7 BME280 price and where to buy it
- 8 A variation, the BMP280 sensor
- 9 Configuration
- 10 Step-by-step video instructions
- 11 Practical advice
- 12 Integration with the Home CO2 Meter
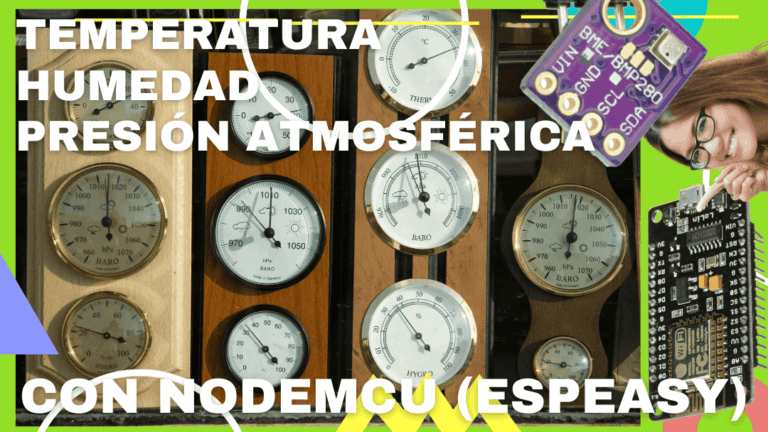
In this tutorial we are going to see, step by step, how we can adding a temperature, humidity and atmospheric pressure sensor, BME280, to our ESP8266 project with NodeMCU or Wemos D1 Mini and ESPEasy.
It is a very simple project, ideal for beginnersbut which has been highly requested by regular readers of the blog, so here it is, in the hope that it will be useful for you too.
There are many temperature sensors, quite a few humidity sensors, some atmospheric pressure sensors, and fewer that combine all three and do all three. with a certain quality in their measurements. The BME280 is an example of the latter type.
Considering what it delivers, and how well it does it, the BME280 is a very economical and highly recommended sensor when we want to obtain these three environmental measures.
What the project consists of
This is a project that allows us to obtain measurements, with a fairly high degree of precision, of ambient temperature, relative humidity, and atmospheric pressure and display them on a web page, make graphs, send them to any system by means of MQTT, HTTP and others.
The project consists of only two components:
- A BME280 sensor, manufactured by Bosch.
- An ESP8266 board such as NodeMCU, Wemos D1 Mini or any other board.
On the firmware side, we will be using ESP Easy, which will allow us to do a whole host of things without the need for programming.
One of the advantages of ESP Easy (and my favouriteis that it enables us to connect to our project many different accessories without having to program or complicate our lives. with firmware modifications or adaptations.
The BME280 sensor
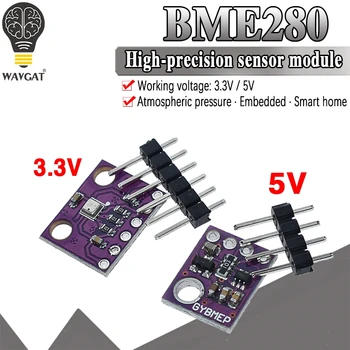
The BME280 sensor, as we are going to use it, comes on a tiny printed circuit board of less than one square centimetre.
This sensor allows temperature measurement in the range -40 to + 85 °C with an accuracy of ±1 °C and a resolution of 0.01 °C.
Its range as a barometer is 300hPa to 1110 hPa, equivalent to an altitude of -500m to 9000m above sea level (you can also use it as an altimeter). With an absolute accuracy of ±1.0C and 1.0 hPa, and relative pressure of 0.12 hPa, equivalent to an accuracy of approximately ±1m.
As a hygrometer, the BME280 has a relative humidity measurement range of 0 to 100%, with an accuracy of ±3% Pa and a resolution of 0.008%.
The sensor's very low power consumption of only 3.6 µA for measurements at 1Hz (once per second) means that the sensor can run for years and years on even a small battery. In deep sleep mode it consumes only 0.1 µA, which means that the sensor can run for years and years on even a small battery. could be powered for tens of years from a single button cell battery..
The module can communicate via I2C (up to 3,4 MHz) or SPI (up to 10 MHz), making it very easy to connect to a microprocessor such as the ESP8266, ESP32, Arduino and others.
In our case, we are going to communicate with it via I2C, which has the additional advantage of using only two pins of the ESP8266 (which we can also use at the same time to communicate with other I2C devices, all of which can be used to communicate with other I2C devices). connected in parallel), leaving many ESP8266 pins free for other uses.
The power supply voltage of the sensor is 1.8 to 3.6V, but is available in either 3.3V modules as well as 5V modulesThe power supply, such as the one we are going to use in this tutorial, already incorporates the necessary level matching. You could use a 3.3V power supply by simply connecting the power supply to the 3V3 pin of the NodeMCU or Wemos D1 Mini.
There is a physically identical sensor, called the BMP280, which does not include atmospheric pressure measurement in exchange for being cheaper.
These are the main characteristics of the BME280 sensor:
| Parameter | Technical data |
|---|---|
| Operating range | Pressure: 300...1100 hPa Temperature range: -40...85°C |
| Supply voltage VDDIO Supply voltage VDD | 1.2 ... 3.6 V 1.71 ... 3.6 V |
| Interface | I²C and SPI |
| Average current consumption (typ.) (1Hz data refresh) | 1.8 μA @ 1 Hz (H, T) 2.8 μA @ 1 Hz (P, T) 3.6 μA @ 1 Hz (H, P, T) T = temperature |
| Average power consumption in sleep mode | 0.1 μA |
| Humidity Sensor Response time (τ63%) Accuracy Hysteresis | 1 s ±3% relative humidity ≤2% relative humidity |
| Pressure Sensor Noise RMS Sensitivity error Temperature coefficient offset | 0.2Pa (equiv. to 1.7cm) ±0.25% (equiv. to 1m at 400m change altitude) ±1.5Pa/K (equiv. to ±12.6cm at 1 °C temperature change) |
| RoHS compliant, halogen-free, MSL1 | |
| Sensor dimensions | 8-Pin LGA with metal 2.5 x 2.5 x 0.93 mm³ 2.5 x 2.5 x 0.93 mm³ 2.5 x 2.5 x 0.93 mm³ |
Connecting the BME280 to the NodeMCU
The connection couldn't be easier. We have to make four connections. Two for power and two for data.

All we have to do is connect:
- VDD from BME280 to Vin of NodeMCU
- GND from BME280 to GND of NodeMCU
- SCL from BME280 to D2 of NodeMCU
- SDA from BME280 to D1 of NodeMCU
Click on the image for a larger view.

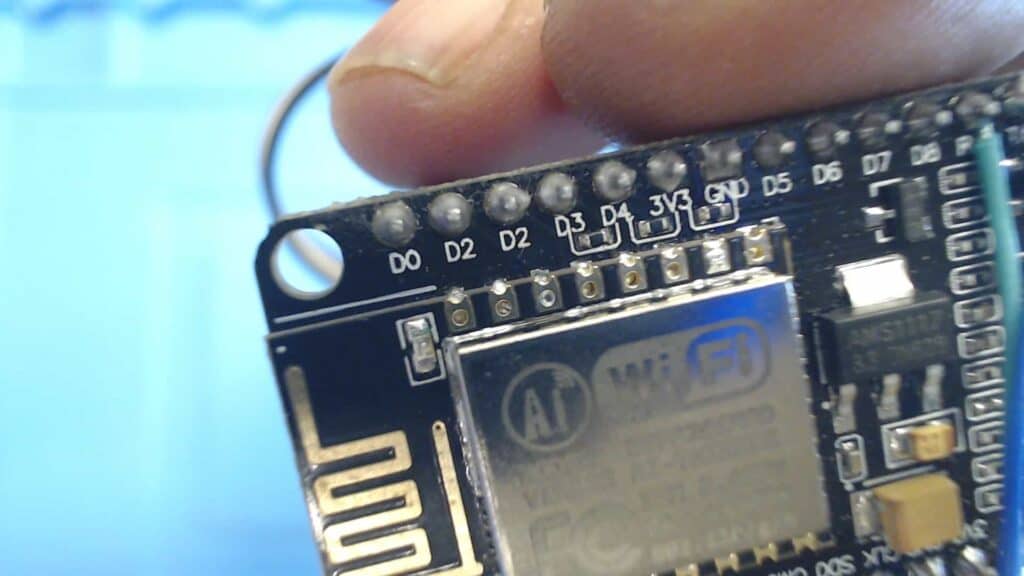
Be careful because the silkscreen on many NodeMCU boards is wrong and says D2 instead of D1 (there are two D1).
Obviously D1 is the one that is erroneously marked as D2 between D0 and "the other" D2.
IMPORTANT: Don't rely on the order of the connections and double check them on your board. Sometimes different manufacturers make such changes that can make our day, if we are not careful.
Connection of the BME280 to the Wemos D1 Mini

I leave you also the diagram with a plate Wemos D1 Miniif you prefer to do it with her.
Other boards will be very similar and you will probably have no problem fitting it yourself.
If you have any questions, feel free to ask below in the comments.
Click on the image for a larger view.
Connection to OLED display SSD1306
One of the advantages of devices with I2C BUS communication (and both the BME280 and the OLED display SSD1306 are I2C devices) is that their connection couldn't be simpler. All you have to do is connect the devices in parallel to make them work.
The big advantage is that you can have a lot of devices with only two wires and using only two pins of the microcontroller (leaving free pins for other things).
In the following image you can see an example with a BME280 and an OLED display SSD1306 connected together:

Please note that in this example both devices are powered at 5VIf your case is different (e.g. SSD1306 3.3V) you will have to adapt it and connect its power supply to the correct pin.
Connecting the BME280 to other microcontrollers
The connection to another board, other than the NodeMCU or the Wemos D1 Mini, based on ESP8266, or another board based on ESP32, will be very similar. We will only have to be watch out for the change in connections.
BME280 price and where to buy it
The BME280 sensor is fairly inexpensive (especially for what it offers).
There is various versions of the sensorThe two are very similar physically, but with some differences: different form of communication, different voltage, etc., so that make sure you buy the same sensoror you will have to adapt the tutorial to the sensor you have received.
You can buy the BME280 on AliExpress here:

If you prefer to buy it on Amazon and get it home quicklyEven if it costs a little more, you can do it here:
No products found.
A variation, the BMP280 sensor
The BM sensorP280 is a scaled-down, cheaper version of the BME280. The main difference is that it does not have a relative humidity sensor, but it is cheaper.
If you don't need relative humidity data you can save some money.
The connection and configuration are exactly the same as for the BME280, so you can use this same tutorial.
No products found.
Configuration
Here I will show you how to set up ESP Easy to use the sensor (use the video for now, it is well explained).
Step-by-step video instructions
Although the process is simple, and shouldn't give anyone too much trouble, I have recorded a video with step-by-step instructions for connecting the BME280 to the NodeMCU and configuring ESP Easy.
Practical advice
Here are some of them practical tipsThe following are basic, based on my experience with different sensors that you should comply with, yes or yesin order to obtain the better measures of the sensor.
No matter which sensor you are usingIf the sensor is mounted on the sensor, you have to take into account that there are some points concerning the mounting of the sensor that will cause that sensor to measure better or worse. Let's take a look at some of them:
- Make sure your sensor is sufficiently aired for to come into contact with the air that surrounds your assembly, but avoid draughts or large movements of air masses impacting directly on it.
- Keep it away from heat sources. Do not place it close to the microcontroller you are using, its power stage components or other sensors that may be in contact with the microcontroller. emit heat.
- Try to isolate it. In my assemblies with temperature sensors I usually create two distinct zones. One for the temperature sensor and a separate one for all other electronics.
What I usually do, for example, when I design the boxes, is to create a separate area to place the temperature sensorThe air communication with the rest of the enclosure where the other components are located is missing.
I take this opportunity to design it in such a way that the air currents cannot easily reach the sensor and I leave the just the right outlet to pass the cables through from the sensor to the microcontroller then sealing this outlet with a piece of foam, hot glue or similar.
Integration with the Home CO2 Meter
Here I will show you how to integrate it with the Home CO2 Meter I published previously.


Hi, I find the idea of adding the sensor very interesting. I would like to know if there is any problem if the power supply for the BME280 sensor on the NodeMCU board is the same as that of the CO2 measurement sensor (VIN and GND pins). From what you say in the article about the power supply from this board, it would only depend on the USB power supply having enough amperage to power it all, right?
Hello José.
There is no problem connecting both to the Vin and GND pins. You shouldn't have any problems with power consumption, the BME280 has very low power consumption.
Hello:
First of all, thank you very much: I am writing to you from an educational centre where we have been able to have all the CO2 detectors we needed thanks to your great tutorial.
We are now using what we have learned to make other environmental detectors using the same platform (NodeMCU + ESPEasy + ThingsSpeak) and have already made one with a dust and other particle sensor (PMS5003) and another for pressure, temperature and humidity (BME280).
Although we will get the data through ThingSpeak, we would like to put a screen so that the students can see the results immediately: our problem is that for both the BME280 and the screens we have, ESPEasy only allows using I2C, so we don't know how to connect both: could you give us some guidance? Thank you very much.
Hello Francisco.
I am very glad that you found the tutorial useful to make the meters for your school and congratulations for such a good initiative.
Connecting the BME280 and the OLED display at the same time is very simple, you just have to connect the two together. in parallel:
VDD of BME280 to Vin from OLED display SSD1306
GND from BME280 to GND of OLED display SSD1306
SCL from BME280 to SCL from OLED display SSD1306
SDA from BME280 to SDA of OLED display SSD1306
In the tutorial called "Connecting an SSD1306 OLED display to ESPEasy" (at https://emariete.com/conectar-una-pantalla-oled-ssd1306-a-espeasy/) you have all the details for connecting and configuring the display at ESPEasy, including a very detailed video tutorial.
Let me know if you have any further questions and I will be happy to answer them.
Best regards!
Francisco, I have expanded the article with instructions and a diagram with the connection of the BME280 and the SSD1306 OLED display together to make it easier for you.
Best regards.
Thank you very much, it's a pleasure!
Thanks to your instructions, it is really easy (in fact, you had already pointed out before - and we should have taken more notice - that I2C allows several devices using this protocol to be connected in parallel) and we have managed to get it working well, but we have a problem when it comes to recording the data with ThingSpeak:
We have two sensors installed, a PMS5003 dust sensor and a BME280. We thought it would be easy just to have two controllers (one for each sensor) and two independent ThingSpeak channels, one for each sensor, but no: we are not able to do it at all. With the first device installed there seems to be no problem, but after many attempts, with the second one (BME280) we don't get the values in ThingSpeak, no matter what we change. We have made many attempts and we don't remember everything anymore, but at some point using a single controller and a single channel we managed to visualise those values, but they were mixed up...
We leave you a link with some screenshots that explain how we have it configured now. Finally, there is also an extract of the log because we don't understand why the BME280 values are displayed twice (in different ways) and why there are no error messages:
http://cloud.educa.madrid.org/index.php/s/WszatjkGgqOhDsc
Sorry for the inconvenience and thank you for your great and generous work.
Hello, Francisco.
The best thing to do is to visit the eMariete Telegram Group (https://t.me/emariete_chat) and we see it in detail because there are several users there who are doing practically the same as you and it is working for them.
If you look at all my posts on the subject, I don't use the ThingSpeak driver because it has given me a lot of problems in the past. I do it by rules.
Best regards.
Thank you very much, I'll be there